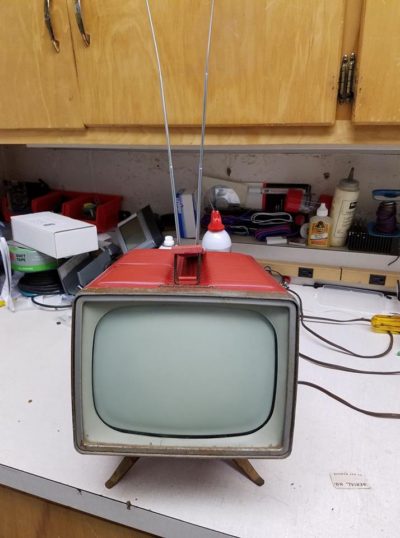
Years ago I picked up this old RCA portable television, model 8-PT-7030 manufactured in 1956. Someone on the rec.antiques.radio+phono Usenet group was giving it away for the cost of shipping, which was around $30. At the time it had a broken high voltage rectifier tube. Other than that, I was unsure of it operating condition. It sat around for close to 10 years.
The first thing I needed was a schematic, and at the time I was unable to locate one online. It occurred to me that my friend Mel W0MDM might have one at his TV repair shop in Estherville. The next time I was passing though I stopped to sell hello and see if he had schematics, and sure enough, he did.
The first problem I ran into in the repair process was a lot of melted wax on the back of the rectifier tube socket, which had migrated into the socket itself. I’m not sure if this wax melts out of the high voltage transformer, or if it’s there to prevent arcing. Either way, it had made a bit of a mess. I tried picking the wax out with some dental picks, but wasn’t entirely successful. I got busy with work so the set got put on the shelf in the backroom for the next 10 years or so.
Last month I dug it out and decided to see if I could make it work. I used my hot air soldering station to blow the wax out of the tube socket and replaced the bad tube. The set still didn’t turn on.
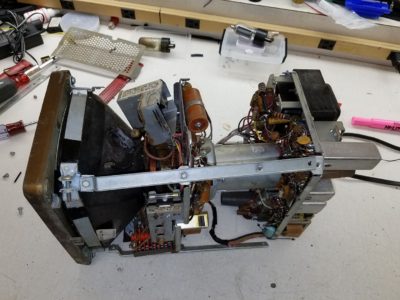
I was able to find a full service manual for the set, a copy of which I have uploaded here. This was very helpful, as it allowed me to discover that the chassis comes apart into two halves for easier service.
I don’t have a tube tester, so I’m not able to check any of the tubes. I also didn’t have a cord that would allow me to power it up on the bench with the cabinet removed. I could have rigged up a “suicide cord” to power it, but I decided against it. At a minimum the set needs the selenium rectifiers and the electrolytic filter caps replaced. And then there’s an almost 100% chance that some or all of the 31 wax/paper capacitors are bad. Five of those are not available in the correct values and voltages. The available parts would cost around $55, but still no guarantee that all 16 tubes are good. Or that the CRT is good.
While this would be a fun project, I decided to just clean it up as a display piece for now. Even if it worked, there’s no analog signals left to display so I would have to feed this with an RF modulator to get a picture. It would look pretty neat in my basement bar, but even not working it will make a nice display piece.
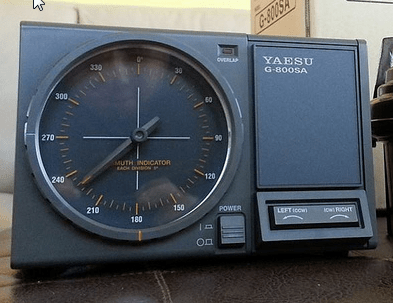 I’ve had a Yaesu G-800SA Rotor on my tower since I built it in 2009. I mostly like it, especially the nice big dial on the controller. The fact that it only needs 4 wires to operate is also a plus.