
I’m a weather nerd. I like all things weather related. Around 10 years ago I ran across an interesting project to track lightning strikes around the world. Blitzortung.
Blitzortung is a community-based lighting detection network that uses Time of Arrival (TOA) and Time of Group Arrival methods to locate lightning strikes. It relies on a network of distributed, low-cost receiver stations, run and assembled by volunteers, to detect VLF radio waves emitted by lightning. By measuring the time it takes for these signals to arrive at different stations, the system can triangulate the strikes location.
I won’t go into great detail here on how it works, as you can find that information on the Blitzortung project pages. What I will show here is a little about my receiving station.
My station is a “System Red” PCB 10.4 detector. I purchased it as a kit and assembled it. I had to build my own antennas. You can find out a ton more information about the receiver and how it all works at the System Red link.
I chose to use Ferrite Rod antennas for my application. I wound the antenna on ferrite rods, shoved them inside a piece of 1/2″ PEX tubing, then wrapped them in copper tape with a 2mm slit to provide shielding. That all get put into a 3/4″ PVC pipe to weather proof the elements. There are two of these antennas, one is mounted vertically and one horizontally.


I attached the completed antenna to my privacy fence in the backyard. Shielded CAT5 Ethernet cable connects the amplifier to the main controller. I also mounted the necessary GPS antenna outdoors.
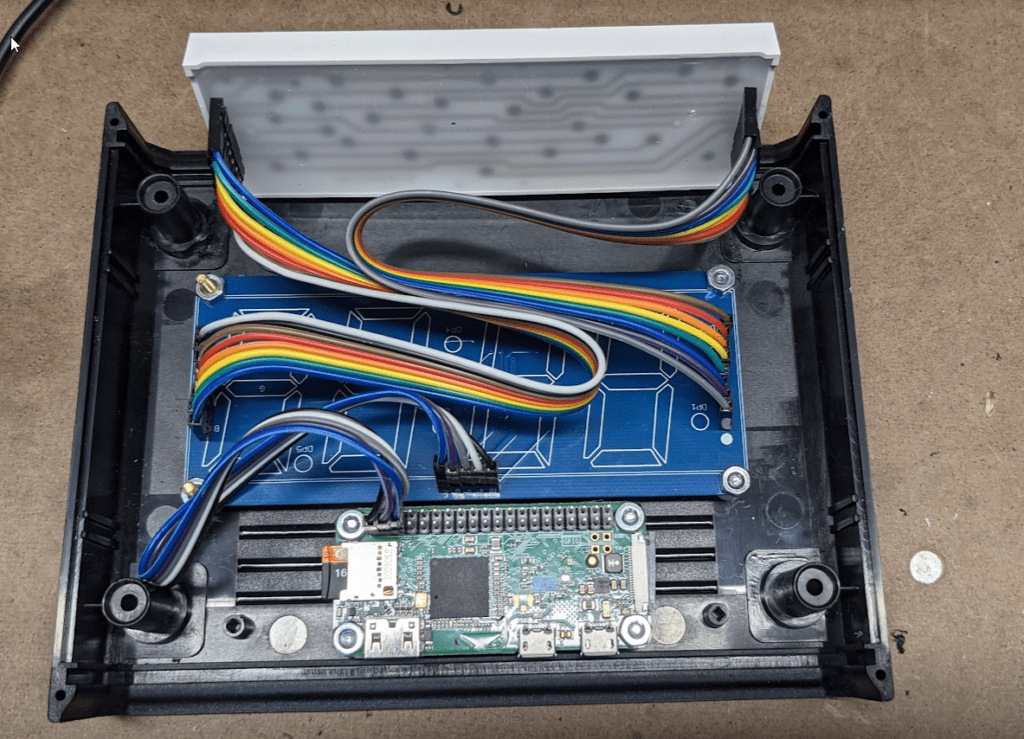
Inside is the Main Controller, mounted to a wall in my basement.

It all works surprisingly well, though it does suffer from some interference. The spot on the fence seems to be one of the quieter spots. Mounting it on the side of the house was a lot worse interference wise.
This isn’t a simple build it and it will work setup. You have to be willing to tweak antennas and locations to find the “best” spot for the antennas.
System Red is long since discontinued, but is still supported by the network, and was replaced by System Blue, but I believe these are sold out.
Blitzortung is run completely by hobbyists, so their resources are a bit limited. In addition to making and selling the kits they also have to operate the servers that aggregate the data and calculate the lightning locations. They make the data freely available at www.lightningmaps.org. If you use their data please consider a donation to keep things running.